
构建基于 Parse Server 和 MongoDB Atlas 的新应用程序
0/5 (0投票)
构建基于 Parse Server 和 MongoDB Atlas 的新应用程序
无论您是从已弃用的 Parse.com (api.parse.com) 迁移还是构建新应用程序,Parse Server 社区都充满活力和强大,并且自Parse Server 2.1.11 版本以来,它支持 MongoDB 3.2,这使得 MongoDB Atlas 成为基于 Parse Server 应用程序的理想后端。
现有的托管 Parse / api.parse.com 用户可以使用Parse 的数据库迁移工具直接将他们的后端迁移到 MongoDB Atlas,使用如下连接字符串(粗体项目替换为您的详细信息)
mongodb://username:password@node1.mongodb.net:27017,node2.mongodb.net:27017,node3.mongodb.net:27017/applicationDbName?replicaSet=clusterName-shard-0&ssl=true&authSource=admin
我们将在本博客文章中学习
- 如何部署 MongoDB Atlas 集群
- 如何部署 Parse Server(在我们的例子中,我们将展示如何使用 AWS Elastic Beanstalk 快速入门来执行此操作,但已更新为使用最新版本的 Parse Server)
- 如何配置 Parse Server 以连接到 MongoDB Atlas
- 如何确认连接性
如何使用 MongoDB Atlas 后端设置新的示例 Parse Server 应用程序
- 部署 MongoDB Atlas 集群
- 考虑调整大小选项,但对于 hello world 样式的应用程序,从小处开始。您可以随时稍后进行扩展(MongoDB Atlas 允许您迁移到更大的实例,而不会停机您的数据库)。
- 在 mongodb.com/atlas 注册 MongoDB Atlas
- 构建和部署您的第一个集群(我们将使用一个小的 M10 实例大小的副本集作为我们的示例,并将其部署到美国东部地区)


- 我们将创建一个用户,该用户至少对 applicationDbName 数据库具有 readWrite 权限(或者自动创建的具有 readWriteAnyDatabase@admin 权限的用户也可以)

- 出于测试目的,我们最初将 IP 地址开放给所有 IP 地址 (0.0.0.0/0):稍后,我们应该只开放给我们的应用服务器的公共 IP 地址。

- 选择您想要在何处以及如何部署 Parse Server
- 此处描述了许多选项,其中一些选项比其他选项提供更简单的设置。 AWS Elastic Beanstalk 和 Heroku 是简单的选项。
出于本博客文章的目的,我们将使用 AWS Elastic Beanstalk 进行 Parse Server 快速入门,方法是遵循以下 URL(需要 AWS 帐户)
- 单击此处访问 AWS Elastic Beanstalk,查看 Parse Server 快速入门部署示例。
- 但是我们将确保安装 Parse Server 2.1.12 或更高版本,例如,在 parse-server-example 中,确保 package.json 文件包含 "parse-server": "~2.2.16"(其中 2.2.16 是撰写本文时的最新版本)。
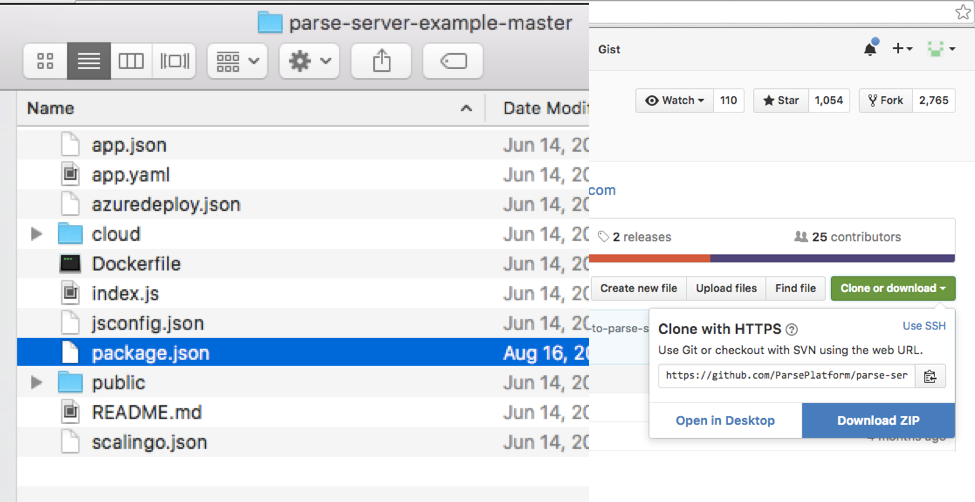
- 可以从 github 下载 Parse Server 示例

- 如果我们解压缩 Zip 文件,我们可以编辑 package.json 中的版本
- 我们将 Parse Server 版本设置为 2.2.16(撰写本文时的最新版本)

- 我们将选择目录中的文件并将它们重新压缩成一个新的 Zip 文件

- 我们将上传我们的新 zip 文件,以便可以部署它

- 配置 Parse Server 以连接到 MongoDB Atlas
- 在 AWS Elastic Beanstalk UI 中

- 我们将导航到左侧菜单中的“配置”部分

- 然后,我们将通过单击齿轮图标导航到“软件配置”部分,并向下滚动到“环境属性”部分

- 在环境属性中,我们将使用我们想要的任何 myAppId、myFileKey、mySecretMasterKey(因为这是一个新应用程序,我们设置这些)。
- 我们将 SERVER_URL 设置为显示在我们 AWS Elastic Beanstalk 应用程序 UI 顶部附近“URL: ...“右侧的 URL。

- 我们将 DATABASE_URI 设置如下(用我们特定集群的详细信息替换粗体文本)
- mongodb://username:password@node1.mongodb.net:27017,node2.mongodb.net:27017,
node3.mongodb.net:27017/applicationDbName?replicaSet=clusterName-shard-0&ssl=true&authSource=admin - 我们可以看到 MongoDB URI 在 MongoDB Atlas 的集群“Connect”UI 中的 Driver connections 部分中应该是怎样的

- 测试以确认我们的示例应用程序与 Parse Server 和 MongoDB Atlas 后端的连接性
$ curl -X POST \
> -H "X-Parse-Application-Id: newParseTest" \
> -H "Content-Type: application/json" \
> -d '{"score":1337,"playerName":"John Doe","cheatMode":false}' \
> http://parseserver-365pk-env.us-east-1.elasticbeanstalk.com/parse/classes/GameScore
Returns:
{
  "objectId": "YMgGV6kVTP",
  "createdAt": "2016-08-26T14:54:26.580Z"
}
$ curl -X GET \
> -H "X-Parse-Application-Id: newParseTest" \
> -H "X-Parse-Master-Key: MASTER_KEY" \
> http://parseserver-365pk-env.us-east-1.elasticbeanstalk.com/parse/classes/GameScore
Returns:
{
  "results": [
    {
      "objectId": "YMgGV6kVTP",
      "score": 1337,
      "playerName": "John Doe",
      "cheatMode": false,
      "createdAt": "2016-08-26T14:54:26.580Z",
      "updatedAt": "2016-08-26T14:54:26.580Z"
    }
  ]
}
现在您可以使用 SDK 构建一个指向您的 Parse Server + MongoDB Atlas 实例的新应用程序!