
在 MVVM 环境中打开子窗口
4.56/5 (8投票s)
如何在MVVM环境中打开弹出窗口。您可以在WPF或Silverlight中使用它。
在这篇文章中,我将演示如何在MVVM环境中使用子窗口,以及如何将数据传递给子窗口或共享相同的视图模型,并在关闭时刷新父窗口。我发现这种方法非常简单直接。其他方法是使用工具包或其他第三方组件。您也可以从视图模型创建子窗口的对象,但这样会破坏MVVM规则。在论坛中,我发现很多人正在努力寻找最佳的、最简单的MVVMish方法,并感到困惑。 所以,就从这里开始吧。
我们需要子窗口的地方
在商业Silverlight应用程序中,打开子窗口以获取详细信息或其他用户输入是最用户友好的方法,因此避免使用子窗口可能会付出一些代价。
背景
为了实现此应用程序,我将使用以下技术:
- 客户端层使用 Silverlight5
- Visual Studio 2010
Silverlight业务应用程序
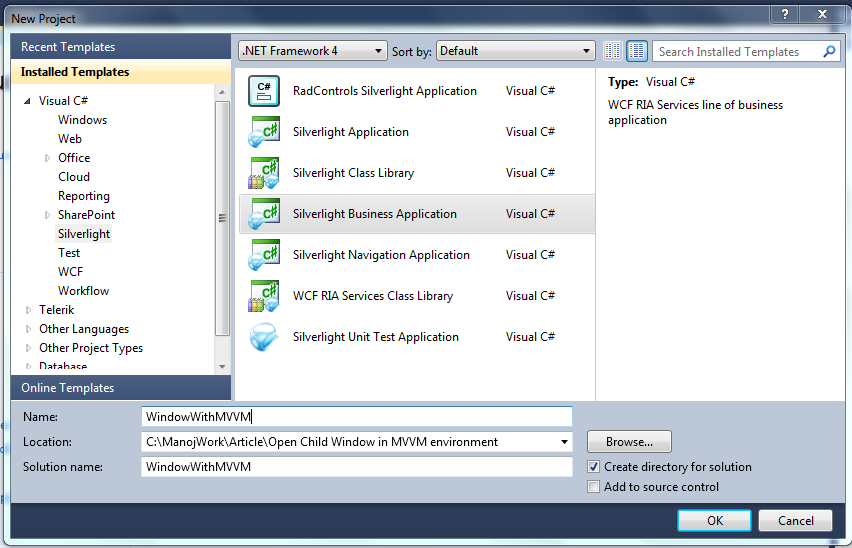
创建一个新的Silverlight业务应用程序。将其命名为“WindowWithMVVM”。
Silverlight客户端
创建ViewModel文件夹。为父视图添加视图模型类。将其命名为“HomeViewModel.cs”。

我将从“INotifyPropertyChanged”继承视图模型。这样它就可以通知视图属性发生了变化。现在是时候创建可以在子窗口和父视图之间共享并在两个窗口中的文本框中绑定的属性了。如果您在子窗口中修改文本,您可以在父窗口中看到。这是一个非常简单的场景,但当然您可以使用网格或列表等实现更复杂的业务场景。
ViewModel的代码
public class HomeViewModel : INotifyPropertyChanged
{
    public HomeViewModel()
    {
    }
    private string _UserInput;
    public string UserInput
    {
        get
        {
            return this._UserInput;
        }
        set
        {
            if (this._UserInput != value)
            {
                this._UserInput = value;
                this.NotifyPropertyChanged("UserInput");
            }
        }
    }
    protected void NotifyPropertyChanged(string property)
    {
        if (PropertyChanged != null)
        {
            PropertyChanged(this, new PropertyChangedEventArgs(property));
        }
    }
    public event PropertyChangedEventHandler PropertyChanged;
}
修改主页以添加文本框和按钮。 在单击按钮时,我将打开子窗口。
<StackPanel x:Name="ContentStackPanel" Style="{StaticResource ContentStackPanelStyle}">
    <TextBlock x:Name="HeaderText" Style="{StaticResource HeaderTextStyle}"
        Text="{Binding Path=Strings.HomePageTitle, Source={StaticResource ApplicationResources}}"/>
    <Grid Height="281" Width="555" HorizontalAlignment="Center">
        <StackPanel Orientation="Vertical">
            <TextBox Height="156" HorizontalAlignment="Left" Name="textBox1" Text="{Binding UserInput, Mode=TwoWay}" AcceptsReturn="True" IsEnabled="False" VerticalAlignment="Top" Width="554" />
            <Button Height="23" Name="button1" Content="Modify in Child Window" Width="150" Click="button1_Click" />
        </StackPanel>
    </Grid>
</StackPanel>
在页面的资源部分中,添加数据上下文。 当然,您需要添加视图模型引用。
<navigation:Page.DataContext>
    <vm:HomeViewModel UserInput="Base User Input. You can modify me in child window." />
</navigation:Page.DataContext>
在代码隐藏代码中,我打开子窗口,并在关闭时显示消息。 但是您可以做更多的事情,例如收集对象、保存某些内容或更改状态。
private void button1_Click(object sender, System.Windows.RoutedEventArgs e)
{
    var window = new ChildWindow1 { DataContext = this.DataContext };
    window.Unloaded -= new System.Windows.RoutedEventHandler(ChildWindow_Unloaded);
    window.Unloaded += new System.Windows.RoutedEventHandler(ChildWindow_Unloaded);
    window.Show();
}
void ChildWindow_Unloaded(object sender, System.Windows.RoutedEventArgs e)
{
    //You can do child window closing coding here like collect object, saving something or changing status
    MessageBox.Show("Child window is closed now.");
}
将新子窗口添加为“ChildWindow1.xaml”到视图文件夹中。

在XAML中添加文本框,并将其绑定到“UserInput”属性。 这是我们在视图模型中定义的属性,也绑定到父视图文本框。
<TextBox Height="146" HorizontalAlignment="Left" Margin="29,57,0,0" Name="textBox1" Text="{Binding UserInput, Mode=TwoWay}" AcceptsReturn="True" VerticalAlignment="Top" Width="321" />
现在我认为我们已经准备好运行项目了。 运行后,单击主页按钮以打开子窗口。 在子窗口中,您可以修改文本并单击确定。 您可以在父视图中看到更新后的文本。

总结
在本文中,您学习了如何在Silverlight/WPF项目中不破坏MVVM规则的情况下使用窗口。希望这是一个非常简单的例子来阐述这个场景。
如果本文帮助您设计/编码应用程序,请不要忘记点击投票选项。请评论您的建议和改进,以便其他人受益。 我的其他文章链接.
编码愉快!!